Sunday, December 31, 2023

Reviewing 2023

Each year I am amazed as I look at the number of blogs I've posted over the year. Over 300 this year... a new record! 

I truly enjoy sharing my cards through my blogs and also appreciate those that follow and especially those that take the time to comment.  I am extremely grateful for my online office mate, Linda who edits my work.  Her help is priceless! 

Here's my favorite pick for each month.  I hope you'll enjoy looking back over the year 2023.  

January ~ BraeLynn Girl by Angie Blom 

Blog link 


February ~ Winter 2 by Morgan's ArtWorld


March ~ Z Fold with Bo Bunny Papers


April ~ Listening to Nature by Mariola Budek 


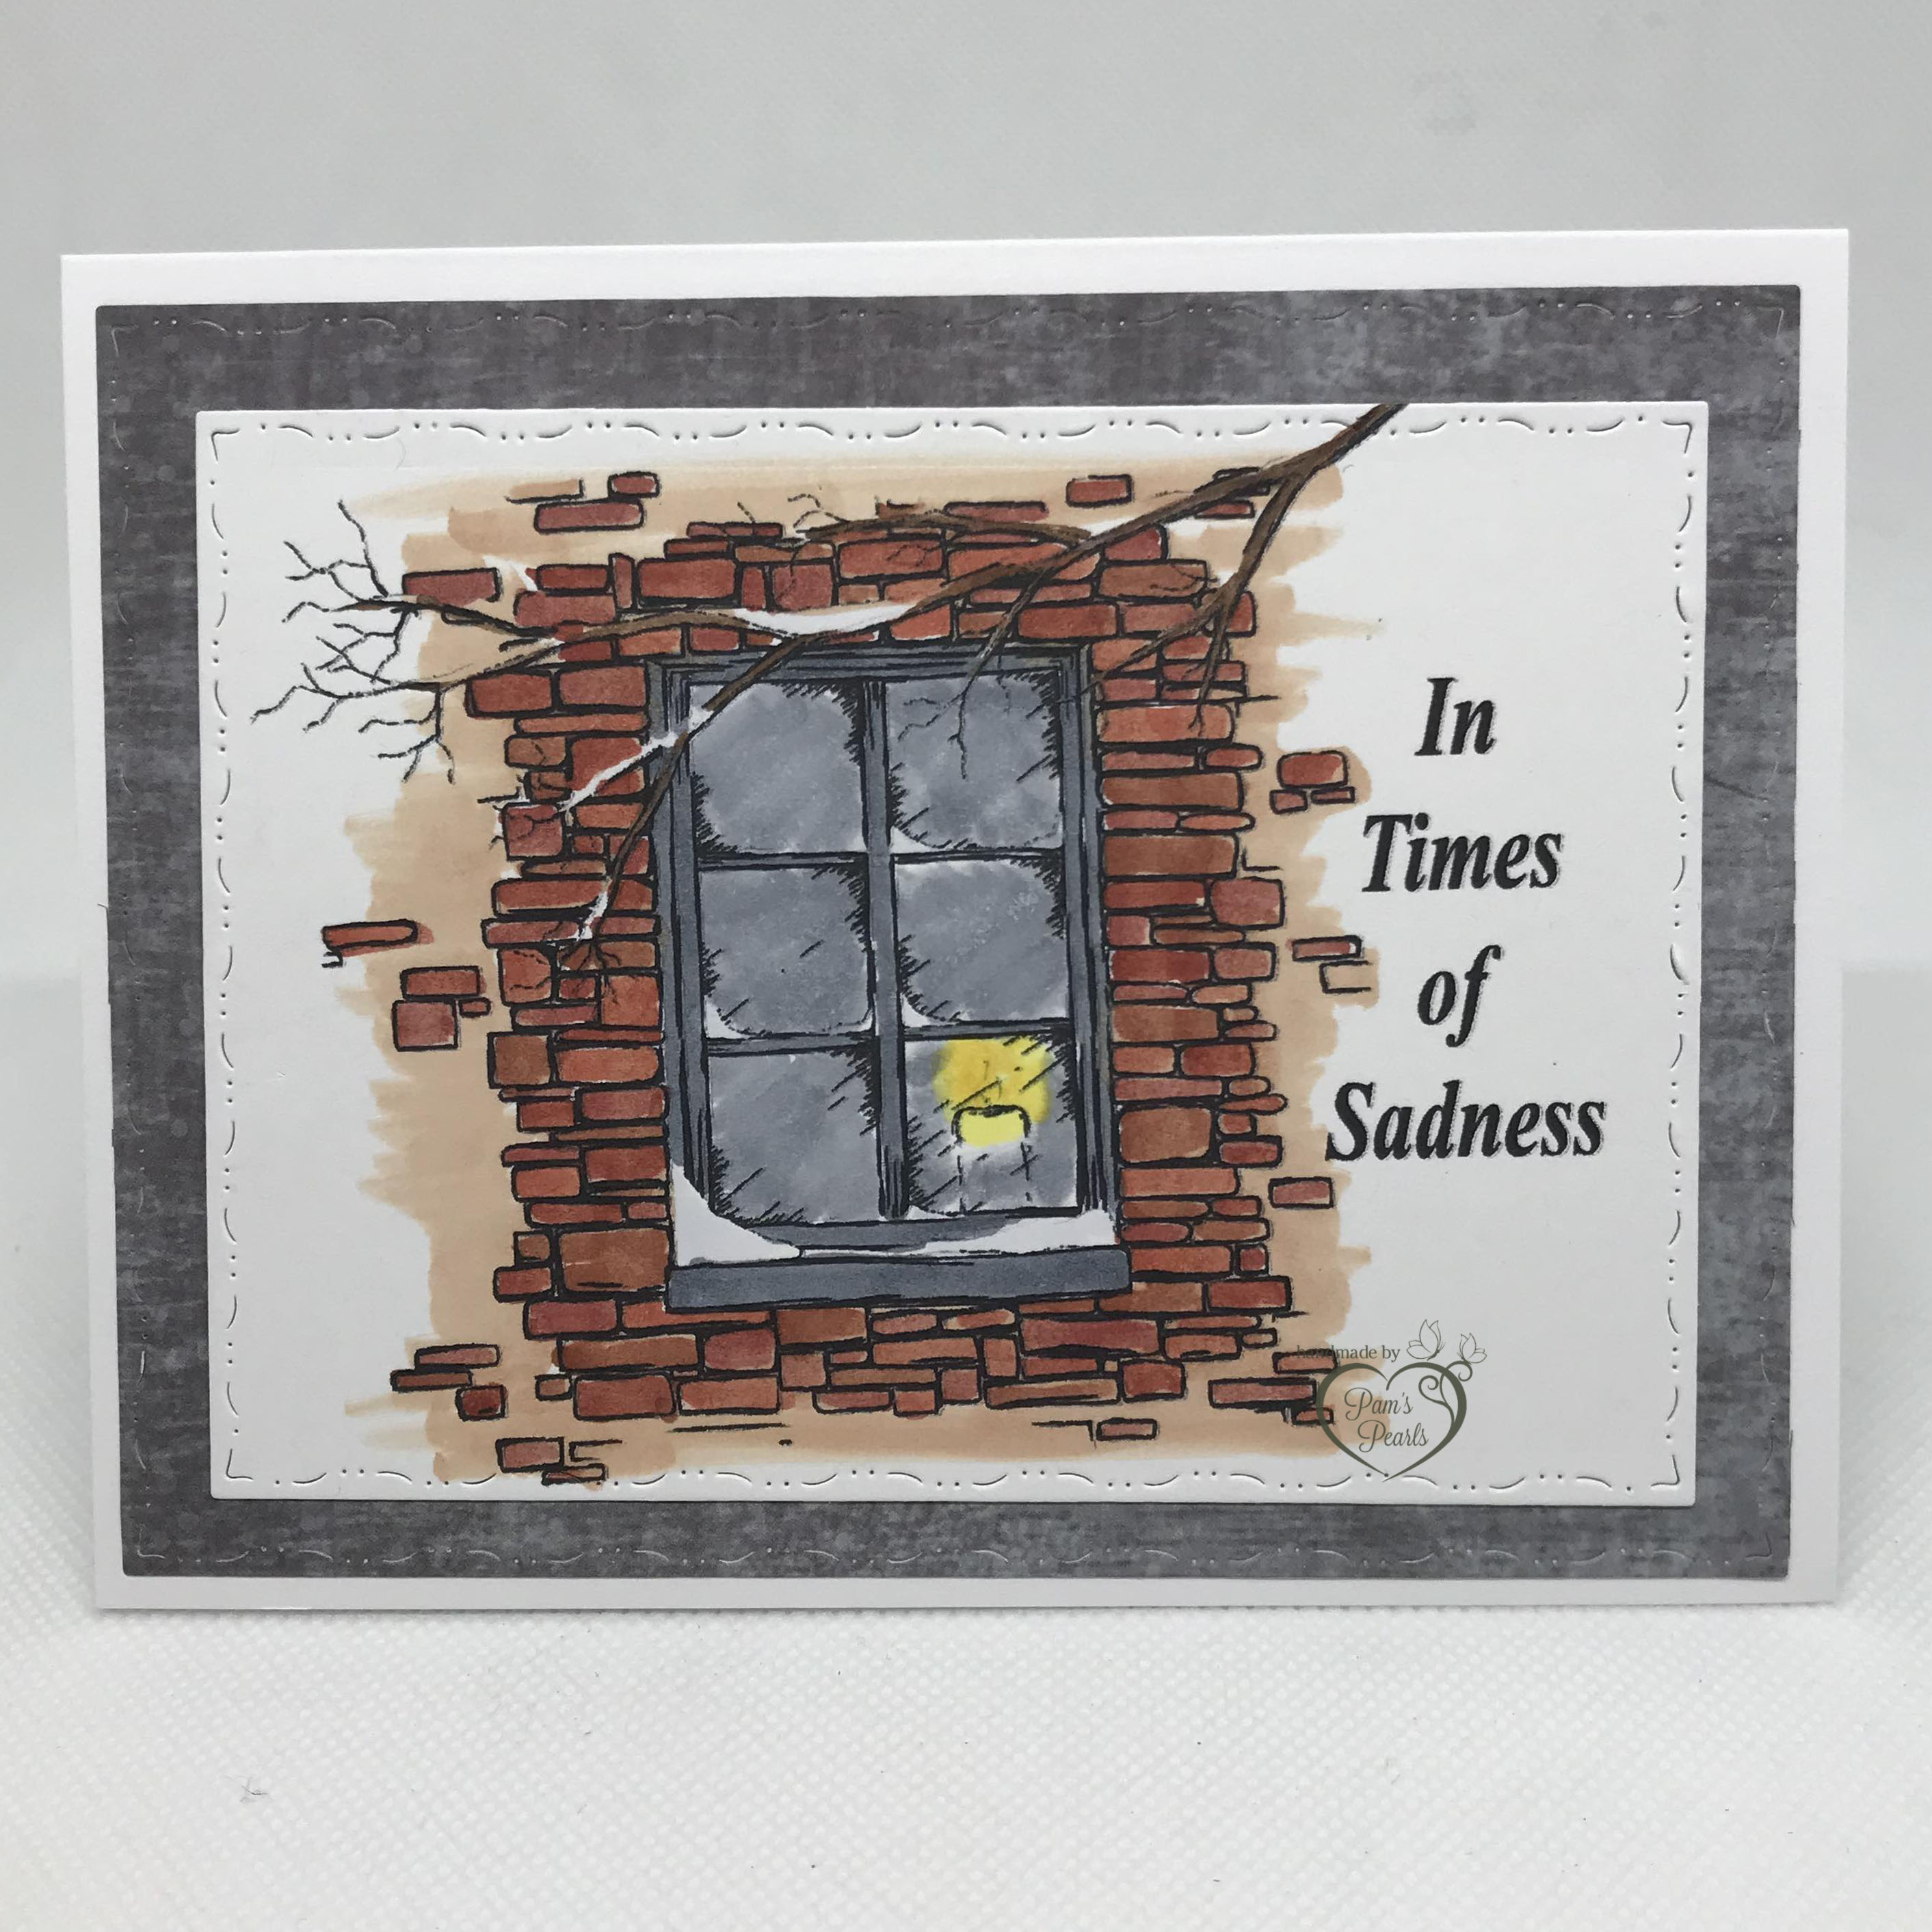
May ~ A Love Like No Other by Sweet November Digital Stamps


June ~ Big Girl Hugs by Stamping Bella


July ~ Snowflake Bauble by Sweet Poppy


August ~ Sleeping Lily Ladybug Ladybird by Polkadoodles Crafting, UK


September ~ Double the Trouble by All Dressed Up Digital Stamps


October ~ Ruby Trill by Penny Black


November ~ Pumpkin Pie by Jan's Digital Stamp Shop


December ~ Bella Christmas Bears by Polkadoodles Crafting, UK


You can view all of my cards on my Pinterest blog page at

and order most of them through private message on Facebook at Not Just Scraps.

Wishing you a wonderful new year full of many crafting hours! 

Pam's Pearls

Design Teams 2023: 


Saturday, December 30, 2023

In Times Of Sadness

It always seems to happen.  Just when everyone is having a lot of fun celebrating the Christmas season, a family member or close friend passes unexpectantly.

While we are grateful for our time with them here on earth, it brings sorrow to our hearts and sadness in our lives.

One of the best things we can do is send one of our handmade cards, which isn't always easy either.  For my last time of need, I found this image from the  Seasonal Window Digital Stamp Set by Beccy's Place.


I sized it to just under 5" tall and layered the computer generated sentiment, 'In Times of Sadness'.   After printing I completed all the coloring with Copic markers. 

I used Penny Black's Elegant Stitching for the die cut edge and added a gray matting which I die cut also.   I secured each layer to the standard A2 size card base to complete the card design.

Thank you for stopping by today to view my blog. I enjoy sharing my work with you and invite you to 'Follow' my blog and to visit my site - "Not Just Scraps' on Facebook - where you can purchase my cards. 

I will be entering this card in the following challenges:  

Beccy's Place ~ December Challenge 

Word Art Wednesday ~ Annual Hop  

Creative Fingers ~ Challenge 268  

My Time to Craft ~ Challenge 524 ~ Sympathy 

Krafty Chicks ~ Challenge 696


Pam's Pearls


Copics

Brick: E07, E08, E09, E13, E19, Glass: C4, Snow: B60, Candle Glow: Y11, Y15, Window Edge: C6  


Products 


Friday, December 29, 2023

Once Upon a Dream...

I hope each of you have had a wonderful Christmas holiday full of blessings and special family times.  Our family time was very nice this year with lots of attention spent around our 17 month old great granddaughter.  You can image the things she was able to get into and the adorable photos I was able to capture!   I've enjoyed a few days off now from blogging every day also.  But it's time to get back and focus on the new year that is about to land upon us. 

Today I wanted to share another special baby girl's event with her family.  My friend's granddaughter, Little Olivia turned 3 months old Wednesday.  She has commissioned me to make a card each month for her and her Mom for the first year.  I recently found out they are using all of the Disney Princesses for her photo shoots each month, which is an awesome idea!

December was Princess Aurora.  This baby has been a dream come true for this family.  Here's the card I made for Olivia's three month birthday using a baby version of the Disney Princess.  


To make this card, I used a digital version of the Disney baby princess and sized her to about 3" tall.  I layered Olivia's name closely under the image and also printed the sentiment in a separate area.

After printing, I used Copic markers for coloring and then used Penny Black's Elegant Stitching for the die cut edge.  

The standard A2 card base is covered with a magenta glitter paper matting, followed by the yellow liner matting and the completed image.  Once they were secured, I added the tag cut sentiment to the left corner of the image to complete the card design. 

I wonder what Princess will be next month?  I hope you'll come back to see.

Thank you for stopping by today to view my blog. I enjoy sharing my work with you and invite you to 'Follow' my blog and to visit my site - "Not Just Scraps' on Facebook - where you can purchase my cards. 

I will be entering this card in the following challenges:  

Crafty Addicts ~ Challenge 8  

Word Art Wednesday ~ Annual Blog Hop 

Dream Valley ~ Challenge 306 

Lil Patch of Crafty Friends ~ Challenge 220


Pam's Pearls


Copics 

Crown: Y26, Y28, R83, Hair: Y06, Y21, E42, Eyes, B23, B28, C7, Blanket: Y15, V91, V93, V95, Dress, N1, R81, R83, R85, R56, Shoes: R83, R56


Monday, December 25, 2023

Merry Christ Day 2023


...and she gave birth to her firstborn, a son. 

She wrapped him in cloths and placed him in a manger...


Thank you for stopping by today.

Pam's Pearls 

Sunday, December 24, 2023

The Star

We've made it to Christmas Eve, a Sunday this year. The excitement of all the month of preparation is about to come and go for another year.  Here at my home, we are loading up to head to my home town to have our family time with my Dad, brother, my children and all their families.  Hopefully we will be organized enough to attend the morning church service where I attended as a child and well into my adult life.

Today's card image is from Whimsy Stamps. It's 'Star of Bethlehem' by artist Crissy Armstrong and I've used the digital image.


After sizing the image I added the sentiment 'Hope' near the bottom on the left corner.  Then I printed this on Neenah 110# cardstock.  I colored the image with my Copic markers and used Gina Marie Designs Label Six die set for the edging.  

The card base is a standard A2 size covered with a dark green plaid.  I secured the completed image in the center.  Lastly I added light lines of Platinum Stickles over the starburst to complete the card design. 

My wish for you today is to take a moment to be grateful for your many blessings and the Hope that the birth of Baby Jesus gives us.  For we serve a Risen Savior! 

Thank you for stopping by today to view my blog. I enjoy sharing my work with you and invite you to 'Follow' my blog and to visit my site - "Not Just Scraps' on Facebook - where you can purchase my cards. 

I will be entering this card in the following challenges: 

Alphabet Challenge ~ S is for Stars  

Creative Knockouts ~ Challenge 511 ~ Time to be Merry  

Word Art Wednesday ~ Annual Blog  

The Holly and the Ivy ~ Challenge 153 

Pam's Pearls


Copics 

Buildings: E30, W4, E19, Land: E11, E13, G12, Donkey: E31, E33, E51, Sheep: N0, N2, Shephard Boy: B0000, B21, R05, Y26, Y28, E23, Staff: E19, Star: YR23


Products 


Saturday, December 23, 2023

Friends Through Every Season

Today's card image is from Stamping Bella named Winter Friends featuring the Bundle Girls.

I love this sweet Bundle Girl winter image.  For this occasion, I used this as a Birthday/Christmas card combo.  Yes, sometimes those December birthdays get shorted don't they!


After stamping the image on 110# Neenah card stock, I used my Copic markers for coloring.  I wanted to use colors in the Christmas family but not the normal red and green combinations.   For the girl on the left I selected R20 - R24 and the girl on the right BG49, BG57, and BG23.  Of course I alternated those colors on the scarves.  For the berries and holly I did stay 'traditional' and used R46 and YG63/YG61.  For the snow mounds, I drew across the lines with B63 pulling down and then repeated using B60.

For the decorative edge I used Spellbinders Labels 15 and highlighted the edge with Copic R24.  I had already selected my hunter green card base and the brown patterned paper for the background matting.  After stamping the sentiment I realized it wasn't going to fit beside the image, but needed to overlap.  Overlapping the 'white on white' didn't work and I certainly didn't want to cover up the berry tree.  I found a scrap of brown that matched closely to the background paper and carefully added a partial mat (only to the left side where it's on the image) behind the sentiment.  Perfect - that gave it the contrast it needed.  Lastly I tied a mint ribbon at the fold and knotted it to the right.  No room for a bow on this one! 

This one went to my Florida friend Linda as TODAY is her Birthday! 

Happy Birthday LINDA! Have a Blessed 

and Merry Christmas!

Thank you for stopping by today to view my blog. I enjoy sharing my work with you and invite you to 'Follow' my blog and to visit my site - "Not Just Scraps' on Facebook - where you can purchase my cards. 

I will be entering this card in the following challenges:  

Cardz4galz ~ Challenge 214 ~ Christmas Card 

Word Art Wednesday ~ Annual Blog Hop  

Cards Galore Encore ~ December  

Pinspirational Challenge ~ December  


Pam's Pearls


Products 

Stamping Bella, Bundle Girls Winter Friends


Friday, December 22, 2023

Snowfall of Blessings

Today I’m here with the All Dressed Up Digital Design Team as we share a few more cards using this months’ new release images!

For my project, I’ve selected ‘Penguin Fun’!


I sized this image for a 5” square card, printed her and began coloring using my Copic markers.

A new sketch challenge #40 was out on Build Your Holiday Stash so I decided to use my image and attempt this sketch.   Here’s what the sketch challenge looks like. 


I used a ‘Book Page’ die set by Darcie to cut the completed image and then used Copic B63 to carefully highlight the edge to add contrast.   I selected lavender, red and teal cardstock in coordinating shades for the required layers of the sketch and secured to the 5” x 7” card base.

The sentiment was computer generated and die cut with a generic stitched fishtail die.  I added a foam backer before adding to card base. Lastly I randomly added the tiny snowflake confetti throughout the card front.

Thank you for stopping by today to view my blog. I enjoy sharing my work with you and invite you to 'Follow' my blog and to visit my site - "Not Just Scraps' on Facebook - where you can purchase my cards. 

I will be entering this card in the following challenges: 

Passion for Promarkers ~ Week 717~ Mega Christmas  

{Pin}spirational ~ Challenge 308   

Sheepski  ~ Challenge 81 ~ Layer It  

Four Seasons ~ December ~ Winter 

World Wide Crafters and Colorist ~ December  

Cupcake Inspiration ~ Challenge 584 ~ Winter Wonderland


Pam's Pearls


Copics  

 Ice & Snow: B60, B63, Penguins: C3, C6, C7, Hats: BG15, BG57, R29, Girl Coat: R24, R27, R29, BG57, BG15, Hair: E23, E25 

Products   

All Dressed Up Digital Stamps, Penguin Fun 


Thursday, December 21, 2023

Baby It's Cold Outside

One of my favorite digital artist is Mariola Budek who can draw the most amazing facial features and beautiful braided hair!  I didn't know until I was browsing her Facebook page that she also illustrates children's books.  Over the past several years she has gifted several character freebies on her page, this cute snowman being one of them (11/2022).


For this card, I sized him to just under 4" tall and colored him with my Copic markers.  I used Gina Marie's Tribal Stitched Rectangle die for the decorative edge then added the solid green mat.

The card base is 5 3/4" square covered with the reflective blue snow cardstock.  I secured the image and matting to the right of the center of the card front.   The sentiment is from a generic Holiday sentiments set that was stamped and die cut.  I added a square of foam behind the sentiment before securing on the left edge of the image.  This completed the card design. 

Thank you for stopping by today to view my blog. I enjoy sharing my work with you and invite you to 'Follow' my blog and to visit my site - "Not Just Scraps' on Facebook - where you can purchase my cards. 

I will be entering this card in the following challenges: 

 Cupcake Challenge ~ Challenge #584  

Creative Crafters ~ Challenge 71  

Creative Crafting Uncles ~ Challenge 48 ~ Christmas or Happy New Year

Pam's Pearls


Copics 

 Hat & Mittens: B21, B23, B24, Shirt: R37, Scarf: G16, B23, Nose: YR18, YR15


Products 


Wednesday, December 20, 2023

Sweater Weather

Today's card is a super easy one yet I had so much fun making NINE of them!  Most of the ladies I met at Stamp Camp back in July live in the northern part of the US, so I thought sending them a little 'Warm Christmas Wishes' would be very appropriate. 


I started by using the Sizzix, Folk Art Pattern 3D Embossing folder and 5" x 7" panels of green card stock.  I also cut the card bases out of heavy cardstock to support the weight of the card.   After securing the embossed piece on the front, I used several heavy weight glue dots to attach the sweater securely to the front of the card base.  You can see I had to tuck the arms in close - they wanted to stick straight out! 

I used different sentiment strips from the Taylored Expressions Simple Sentiments - Christmas set for the cards.  For each one, I added a strip of fun foam to the back before attaching to the card.   While the card is quite thick and overweight with this 'ugly' sweater, it was okay as I had a few other surprises to go in the package too.  The sweater served as great padding!

Thank you for stopping by today to view my blog. I enjoy sharing my work with you and invite you to 'Follow' my blog and to visit my site - "Not Just Scraps' on Facebook - where you can purchase my cards. 

I will be entering this card in the following challenges:  

Cards Galore Encore ~ December Challenge  

12 Months of Christmas ~ Challenge 107  

Four Seasons ~ December ~ Winter  


Pam's Pearls


Products 


Tuesday, December 19, 2023

Gone to the Lake!

I know I'm not the only one who loves 'life at the lake'!  When I was visiting Outer Banks, NC this past October, I purchased a Christmas ornament that had Santa's outfit hanging from a hanger and a sign, "Gone to the Beach, Love Santa".   I decided to use that idea to make one of my Stamp Camp friends Christmas card, knowing how much she enjoys her time sailing at the lake near her home.

Here's what I came up with ~ 


I started with the Altenew, From Land to Sea 3D Embossing Folder and inked about half of it with Memento Paris Dusk.  For the 'sand' side, I used Memento Toffee Crunch and 'swiped' across the rest of my 6" piece of cardstock.  Then I trimmed it down to 5 1/2" square.

After adding the navy mat to the 6" card base, I added this piece to the base before decorating.  

My first attempt at attaching the suit to the hanger, I used the smaller wooden clothes pins. I quickly saw the suit was too thick for those tiny clips!  This medium size worked much better.  I used several  heavy weighted glue dots to secure the suit to the card front.  The sentiment was computer generated and I used a standard tag die.  The holly is added at the tag and also at the bottom left corner. 

Just as a side note - the tag can be removed along with the suit, hung on the back of the hanger, and then hung on her tree as an ornament. 

Thank you for stopping by today to view my blog. I enjoy sharing my work with you and invite you to 'Follow' my blog and to visit my site - "Not Just Scraps' on Facebook - where you can purchase my cards. 

I will be entering this card in the following challenges:  

Crafting from the Heart ~ Challenge 8  

Ave 613 ~ December Challenge  

My Time to Craft ~ Challenge 75 ~ Christmas Holiday


Pam's Pearls


Products 


Monday, December 18, 2023

Birthday Trio

Today's card is from Di's Digitals and although it includes Holly and Berries and a 'Christmas' name, I've used it for a Birthday card.

This image is Hark the Micey Sing and I thought it was perfect for a December birthday!


 I started by sizing them to about 5" wide and printed them on 110# Neenah card stock.  I used my Copic markers for coloring and trimmed close to the edge when completed.  

I selected a 5.75" square card base and a medium brown dotted Swiss background paper.   The sentiment is computer generated then die cut with a generic stitched fishtail tag die.  I hand cut the burgundy liner behind the tag then secured both to the bottom of the card base. Next I added the completed image above the tag, centering it in the space left. Lastly I added a bit of Diamond Stickles on the fur of the mouse on the left to give him a little sparkle. 

Thank you for stopping by today to view my blog. I enjoy sharing my work with you and invite you to 'Follow' my blog and to visit my site - "Not Just Scraps' on Facebook - where you can purchase my cards. 

I will be entering this card in the following challenges: 

Inkspirational ~ Challenge 305 ~ Celebrate  

Creative Fingers ~ Challenge 268 

Creative Inspiration ~ Challenge 9  

Di's Digital ~ December Challenge ~ Any Winter Holiday


Pam's Pearls


Copics 

Left Mouse: E33, E34, E35, R20, N7, B21, B24, B26, B28, Center Mouse: E55, R20, N7, BG45, BG57, Right Mouse: E13, E14, N7, R81, R83, R85, R56, Log: E70, E71, E74, Holly: G94, G21, YG63, Berries: R35, R37, Books: YR30, Y26


Products  

Di's Digitals, Hark the Micey Sing