I hope you've been following each month as we've watched Baby Olivia celebrate her 'monthly birthday'. Each month has been a different Disney princess, different dress made by her great grandmother and a special photo shoot by her grandmother.
This month's focus is Disney Princesses Elsa and Anna. Her grandmother and I decided on one card with both of them for Olivia's keepsake card celebrating her 10 month birthday.
To make this card, I sized the image to about 3" tall, typed the 2 sentiments in a separate area of my layout page, and then printed these on 110# Neenah cardstock.
For the Princesses, I used my Copic markers for the coloring and have referenced the colors at the bottom for your reference. I fussy cut the completed image out and inked the edge with Copic C4 to ensure all the white edges were covered. I added the aqua bling to Princess Anna's headband and added the white and sparkly snowflake embellishments to the bottom edge of the dress and to the headband of Princess Elsa. Those sparkles really made the images come to life!
For the background I searched the internet for free Frozen digital backgrounds, specifically for images with steps or places for the girls to 'sit'. This one was exactly what I wanted with the castle in the background and the colors that coordinated well with the colors of their dresses.
After sizing the image to about 5 1/4" square, and printing it also on Neenah cardstock, I trimmed it leaving a 1/4" white border. I selected a deep purple cardstock and made the top fold card base. I used a couple of random die cuts for the two sentiments, based on where I wanted them to fit. Next I placed a strip of fun foam behind the heads of the two girls, then secured the image about 1/4" from the top fold. Then I added the sentiment at the top of the image and overlapped the oval sentiment at the bottom that documents Olivia's name and which birthday month the card is for. Lastly I added the white organza ribbon at the fold and secured the snowflake embellishment on top of the knot.
This one has to be one of my favorites of the ten I've done for Baby Olivia. Here's her photos for this month also - what a cutie she continues to be!
Thank you for stopping by today to view my
blog. I enjoy sharing my work with you and invite you to 'Follow' my blog and
to visit my site - "Not
Just Scraps' on Facebook - where you can purchase my
cards.
I will be entering this card in the
following challenges:
Crafty Catz ~ Challenge 677
Creative Inspiration Challenge 16
Word Art Wednesday ~ Week 657-658
Make Mine Monday ~ Challenge 230 ~ Let's Celebrate
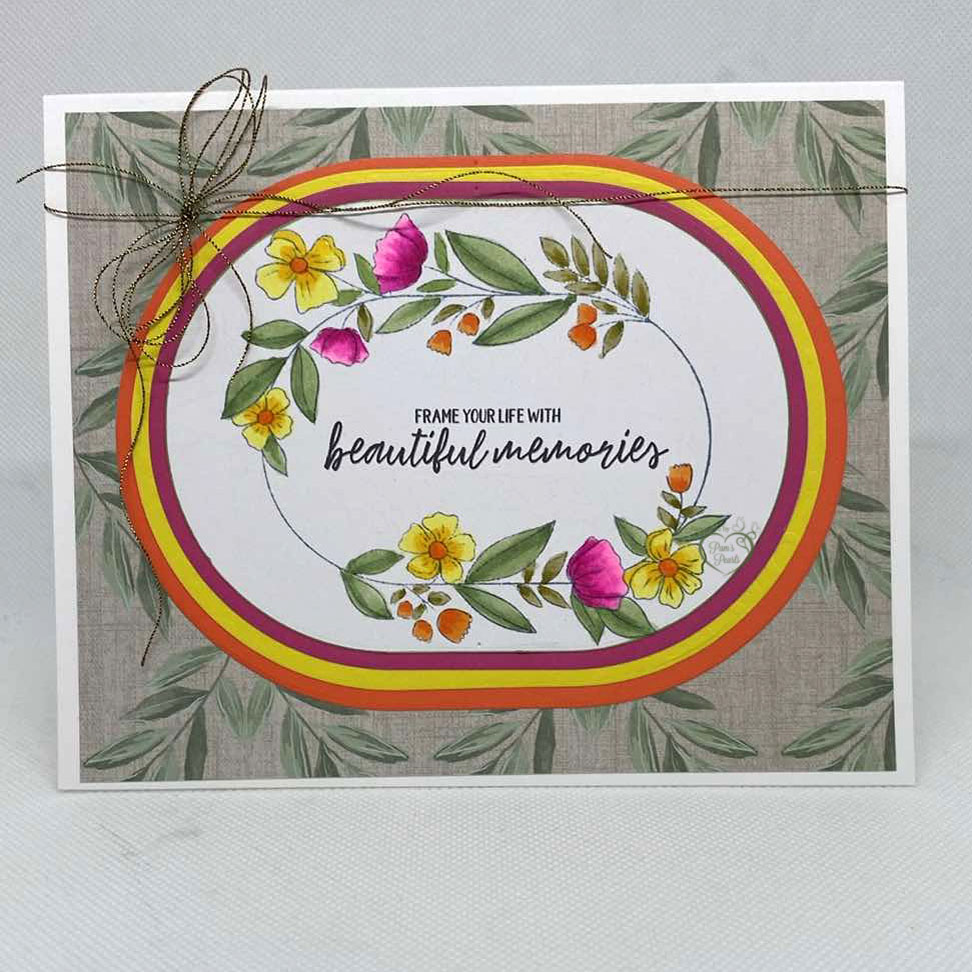
Pam's Pearls
Copics
Anna: Hair: E39, YR27, YR24, YR21, Top: N4, N5, Skirt: B24, Hair Piece: YG63
Elsa: Hair: E41, E42, E43, Cape, RV66, N5, Dress: BG57, BG49, BG34
Products
Google image ~ Disney Princess Anna and Elsa