Saturday, December 10, 2022

Even Gnomes Seek Him

Today I'm sharing Polkadoodles Gnome Lantern/Candle Light from the Gnome Festive Fun Collection. 


To make this card, I sized the gnome to just under 4" and  printed the image on 110# Neenah cardstock. I added the sentiment from Your Next Stamp, Adore Him and then began the fun part.   

Copic coloring is my "Joy" and this image was a lot of fun to color in these bright and bold colors.  've listed them below for your reference. 

I matched the completed image with the light blue snowflake paper and then used Pink & Main's Stitched Rounded Square dies for the edges.  Then I secured the background mat and image to the top fold 5" card base.  I elected not to add a ribbon for this card as with many of mine.  Storage is a lot easier without ribbons and of course I can always add one before mailing.  

This is a great image that works up quickly and if you enjoy SVG's, it also comes with that file included in the purchase.

Thank you for stopping by today to view my blog. I enjoy sharing my work with you and invite you to 'Follow' my blog and to visit my site - "Not Just Scraps' on Facebook - where you can purchase my cards. 

I will be entering this card in the following challenges: 

As You Like It ~ Challenge 12 ~ Christmas 

CRAFT ~ Challenge 661 ~ Christmas The Last Stretch 

Krafty Chicks ~ Challenge 641 ~ Week 2 

Moving Along With the Times ~ Challenge 149 ~ Christmas  

Word Art Wednesday ~ Week 573-574 

Creatalicious ~ Challenge 248 ~ Christmas, Non-Traditional Colors 


Pam's Pearls

 Products


Friday, December 9, 2022

Never Stop Believing...

Today I'm posting with Team A of the Colour Crazy Challenge blog.  Our sponsor for this week is Mirtillamente Craft Shop.  I've selected their 'Santa Ops' image for my card. 


After sizing the image for an A2 card, I used Copic markers for coloring.  I used a 'Bottle' on my desk to lightly trace a circle in the top left corner for the full moon and a horizontal line for the roof edge. 

Next I colored in the moon using Copics Y11, Y15, Y18, W3, and C02.  Then I used Distressed Oxide Midnight Blue Quick Quotes and a finger dauber to lightly color the night time background. I used a white gel pen to randomly add the snowflakes into the sky.  I used Gina Marie Designs Label Six for the decorative edge.

For the A2 card base, I covered it first with black swiss dotted paper, then added the colored image.  I slipped the card into my Misti and stamped the sentiment.  Lastly, I added Diamond  Stickles to Santa's fur and on the snow at the chimney and roofline.  

Thank you for stopping by today to view my blog. I enjoy sharing my work with you and invite you to 'Follow' my blog and to visit my site - "Not Just Scraps' on Facebook - where you can purchase my cards. 

I will be entering this card in the following challenges

ABC Challenge ~ W and X ~ Xtra Special "Santa" 

The Paper Funday Challenge ~ Challenge 48  

The Holly and The Ivy Challenge ~ November 

Through the Craft Room Door ~ Dec 6th Challenge 

Christmas All Year 'Round ~ December ~ Waiting on Santa 

World Wide Open Design Team Challenge ~ November


Pam's Pearls


Products


Thursday, December 8, 2022

Light Up the Holidays

Today's Christmas card is one I made for a Sketch Challenge in one of my card swap groups. Here's the completed card using Newton's Nook, Holiday Mischief.


 Here's the sketch that each of us followed.


I started by stamping the cat in tangled lights  on cardstock.  I colored the image with my Copic markers, which are listed below.  Then I die cut it with a standard circle die, and cut the green solid mat with the die that is up one size.

I pulled the vertical strips from my scraps pile, being sure one of them included cats.   Each strip was then secured to the 5" card base.  After deciding where the image would fit, then I cut the white rectangle piece and stamped the sentiment centered in the open space.  Once it was added to the card base, then I secured the circle image to the center of the card,  overlapping the rectangle slightly. Lastly I added a Christmas tree brad at the sentiment to complete my design. 

Thank you for stopping by today to view my blog. I enjoy sharing my work with you and invite you to 'Follow' my blog and to visit my site - "Not Just Scraps' on Facebook - where you can purchase my cards. 

I will be entering this card in the following challenges: 

The Paper Funday ~ Challenge 48 

Crafty Friends Challenge  ~ December ~ Challenge 162 

Mirtillamente  ~ Challenge 15 ~ December 

Stamp + Fun + Creativity ~ Challenge 422 ~ Christmas with Animals  

Pam's Pearls


Copics 

Cat: N1, N3, N5, N8, R20, Lights: Y15, R46, YG09, YR04, B06, BV04, BG72

 Products 


Wednesday, December 7, 2022

Heaven's Gift

For today's Christmas Card ~ I'm sharing Heaven's Gift from Penny Black, Inc

This was made for a swap also - Card with the letter J.  Jesus of course. 


 After stamping the image, I colored it with my Copic markers.  The colors are listed below for your reference.

Then I trimmed closely to the edge of the print.  I used the B05 color on the outside edge of the image to match the card base cardstock.  

I used one of my new 3D embossing folders, Sizzix Arched, and the deep purple paper to make the background print.  After trimming to the correct size, I secured it to the card front, then added the colored image and a fish tail tag at the bottom.

I added the multi colored bling on the tag next and then tied the blue organza ribbon at the fold. I added the Merry Christmas charm in at the knot and the card design is complete.

Thank you for stopping by today to view my blog. I enjoy sharing my work with you and invite you to 'Follow' my blog and to visit my site - "Not Just Scraps' on Facebook - where you can purchase my cards. 

I will be entering this card in the following challenges: 

The Holly and The Ivy ~ Challenge 11 ~ Christmas  

Creatallicious ~ Challenge 248 ~ Christmas/Non-traditional colors 

Sweet Stampers ~ Challenge 74 ~ Christmas 

12 Months of Christmas ~ Challenge 95 

Penny Black Inc. ~ Saturday Challenge ~ December 

Country View ~ December ~ Christmas


Pam's Pearls 

Copics 

Frame: B05, Glass: Y19, BV02, BG13, RV02, G40, Star: Y18, Mary: V91, V93, V95, Baby Jesus: B41, Joseph: BG53, B05, V95


Products


Tuesday, December 6, 2022

The Bell Rings

Today's Christmas card is another Beccy's Place image, Silver Bell. I have to admit it feels a bit odd posting her image when it's not for a certain letter.  I so very much enjoyed her 30 days of Christmas card Challenge. 

I love this image sized large to be the focal point of my card. 


 I sized the bell to just over 3" and added one of the sentiments from the same package to the right.  After printing, I used Copic markers for coloring and then die cut the decorative edge with Gina Marie Designs Labels Two.

I cut the red mat 1/8" smaller than the A2 white card base and secured it.  Then I selected the light gray matting with coordinating multi colored dots, cut it 1/8" smaller than the red mat and secured it to the base.  

Before securing the colored image, I thought it needed something to separate the white/gray combo so I took my Copic B66 and carefully colored the edge of the fancy die cut. Then I secured it to the center to complete the design. 

Thank you for stopping by today to view my blog. I enjoy sharing my work with you and invite you to 'Follow' my blog and to visit my site - "Not Just Scraps' on Facebook - where you can purchase my cards. 

I will be entering this card in the following challenges: 

Beccy's Place ~ December Challenge

A Place to Start ~ December 

Crafting Happiness ~ Challenge 137 ~ Christmas 

Allsorts ~ Week 705 ~ Beginning to look a lot like Christmas


Pam's Pearls


Copics

Bow: B63, B66, Flowers: R20, R21, Leaves: YG61, YG63, Berries: R46, Holly G82 G85, G94, Bell: C3, C5

 Products


Monday, December 5, 2022

One Sheet ~ Four Cards

 A few weekends ago, Sweet n' Sassy celebrated their birthday with a weekend full of challenges.  Today I'd like to share what I made for their Challenge #3, One Sheet Wonder hosted by Karen Decknick.

Here are the finished four cards from one sheet of stamping.


For my image I selected Snowflake Flourish, a retired stamp from Sweet N' Sassy.  Following the video, I stamped the images randomly with Blue Belle Versa Claire ink.


Next I cut the 8 1/2" x 11" paper into four panels, 4 1/4" x 5 1/2" to make the card fronts.

I used sentiments from Sweet N' Sassy's, Be Encouraged, fitting them randomly in the middle of the beautiful snowflakes.

I used different dies all from Gina Marie Designs on each stamped card front, then secured each to the front of dark blue card bases.  I tied an organza ribbon at the fold of each and added a cross charm on the oval cut design.  Lastly I added the journaling box inside each card to complete the designs.  What a great video and technique to make several cards in the time it takes to make one. 

Thank you for stopping by today to view my blog. I enjoy sharing my work with you and invite you to 'Follow' my blog and to visit my site - "Not Just Scraps' on Facebook - where you can purchase my cards. 


Saturday, December 3, 2022

Winter Wedding Step Card

This week's challenge for the Polkadoodles Design Team was an Elegant Winter Wedding Step Card.  

There is a great Polkadoodles couple image called 'Bride & Groom (PDwp9002) as well as you could purchase them separately (Bride PDwp9001/The Bridegroom PDwp9016).  

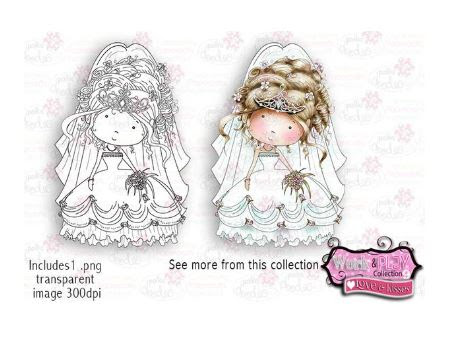
For my card, I wanted my bride to be Winnie Fairytale Dreamer as I love her crown and tiny pink roses on her gown. Since I already had the Bride & Groom couple digi, I simply fussy cut him away from the bride


I colored each image with my Copic markers and fussy cut around them.  

I also printed a half page of the wedding car paper from Polkadoodles Love & Kisses digital paper.

I cut my center step card from coordinating blue cardstock, using my Silhouette.  I used the wedding car paper to cut the background rectangle and added it to the center panel.  

Next I secured the bride to the front right and then the groom to the front left, making sure their hands joined.  Then I secured the double flower lace pieces to the front strip of the card and the two vertical strips of the step.

The last step (always last) was adding the Stickles.  For the bride's crown and the dots on her dress, I used Platinum Stickles and for the roses I used Cherry Ice Stickles.  Then I carefully put it aside to dry overnight.

Don't forget to check out all the Design Team's work today on the Challenge Blog. 

 Thank you for stopping by today to view my blog. I enjoy sharing my work with you and invite you to 'Follow' my blog and to visit my site - "Not Just Scraps' on Facebook - where you can purchase my cards. 

I will be entering this card in the following challenges:  

Beyond the Blues ~ Challenge 75  Winter Holiday 

Secret Stamper ~ Challenge 46 ~ AG with Creative/Funfold 

Time Out ~ Challenge 228 ~ Winter or Holiday Season 

The Paper Shelter ~ Challenge 536 ~ Winter Celebrations 

Through the Craft Room Door ~ Challenge Nov 22nd  

Pam's Pearls


Copics 

Groom: Hat & Shoes: C4, C6, C8 B93, B95, Suit: B91, B93, B95, B97, B99, Hair: E21, E23, E25, Bride: Gown: RV10, G21, Y26, Crown: Y26 Hair: E41, E42, E43


Products


Alternate Images Available:


Friday, December 2, 2022

Kitty Christmas Wishes

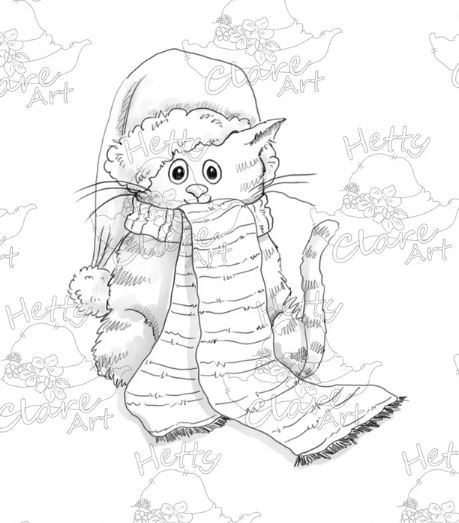
Today I'm joining in with Team D for this week's Colour Crazy Challenge.  Our sponsor is Hetty Clare and I've used 'Cat Christmas' for my card.


I sized the image to about 3" tall and added the 'Christmas Wishes' sentiment from another file.  The image is colored with Copic markers, which are referenced below.  The die cut edge on the image is from the Gina Marie Designs Stitched Scallop Rectangle set.  

For mounting, I covered the A2 card base with red cardstock and then added the 2 1/2" wide cat print strip down the left side.  Next I secured the colored image to the card front, lining it up near the right edge of the card.  This allowed more balance in the card design and also shows a little more of the patterned paper.   Lastly, I added Diamond Stickles to the Santa hat fur and a few enamel dots.

Thank you for stopping by today to view my blog. I enjoy sharing my work with you and invite you to 'Follow' my blog and to visit my site - "Not Just Scraps' on Facebook - where you can purchase my cards. 

I will be entering this card in the following challenges: 

As You Like It, Traditional Christmas  (love the long warm scarf!)

Moving Along With the Times ~ Challenge 149 ~ December 

Time out Challenge ~ Challenge 238 ~ Winter or Holiday  

The Paper Shelter ~ Challenge 536 ~ Winter Celebrations 


Pam's Pearls


Copics 

Hat & Scarf: R17, R27, R29, Cat: C2, C5, C7, Shadow: W2


Products 


Thursday, December 1, 2022

Stardust and Pumpkin for Christmas

Today I'm sharing with the Creative Team from Morgan's Artworld as we roll out the December Challenge Blog. 

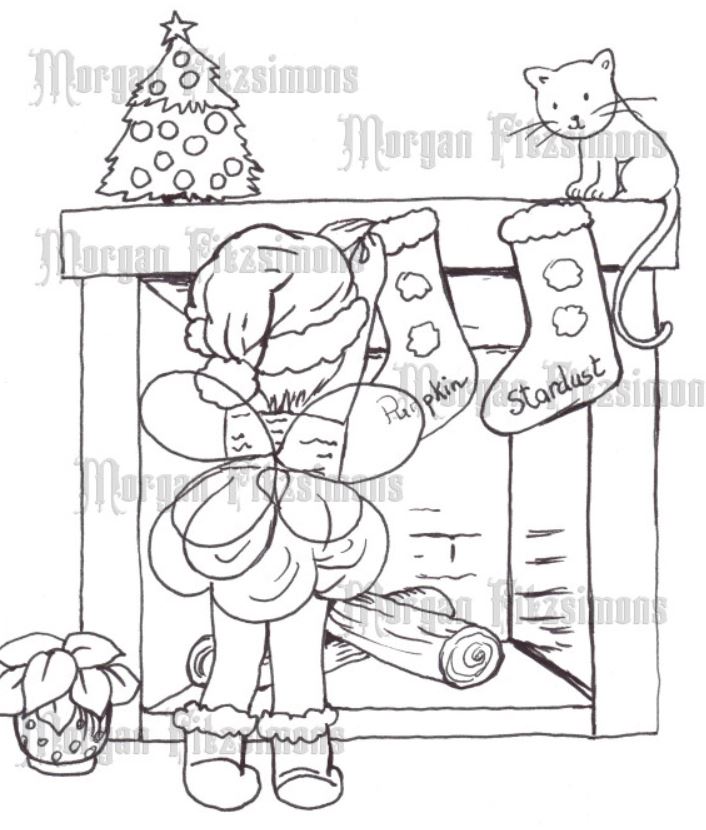
I've used Morgan's Stardust and Pumpkin 7 image for my card of inspiration.


I started by sizing the image to just under 4" tall and printed on Neenah 110# cardstock.  After coloring the image with my Copic markers, I drew in and colored the rug and the flooring. Then I used Gina Marie Designs Swirls and Leaves stencil and Frayed Burlap Distressed Oxides to make the wallpaper look for the background.  

I matted the completed image on green plaid after die cutting it with Tattered Lace Lacey Days square die.  Then I secured both pieces on the 5 1/2" square dark brown card base.  I used the Altenew Large Holiday Script Words, 'Believe' die with a matted gold cardstock to get my sentiment, then secured it at the bottom of the card to complete the design. 

Thank you for stopping by today to view my blog. I enjoy sharing my work with you and invite you to 'Follow' my blog and to visit my site - "Not Just Scraps' on Facebook - where you can purchase my cards. 

I will be entering this card in the following challenges: 

The Paper Shelter  ~ Challenge 536 ~ Winter Celebrations 

The Holly & the Ivy ~ November ~ Christmas 

Through the Craftroom Door ~ Challenge 22 ~ November  

Sisterhood of Crafters ~Christmas/Winter 

Dragonfly Dreams ~ Challenge #11 ~ Christmas/Winter


Pam's Pearls


Copics 

Tree: G07, G82, Y17, R46, V15, Cat: E11, E13, Mantel, E15, E19, Fireplace: R59, N3, N4, N5, E71, E74, Rug: B93, B95, Floor, E42, E43, Fairy Hat & Shoes: R35, R46 Fairy Outfit: R22, R46, RV00, BG10, BG11, BV00, Hair: E13, Stockings: V12, V15, Plant: YG91, YG95, G05, V15, white pen for dots


Products


Smiles and Giggles from Santa's Helpers

Welcome to another monthly challenge on Critter Crazy Challenge Blog.  I'm posting today with the Design Team as we each share another favorite animal stamp.

For my project, I've selected 'Santa's Helpers' from Your Next Stamp.


 I've stamped the image and added the sentiment from the same package below the mounds of snow.  

These cute laughing penguins and the stuck Santa were colored with Copic markers.  Afterwards I used the Memory Makers Marquee Rectangles for the decorative edge on the image and the blue patterned matting. 

After securing both to the A2 card front, I added diamond Stickles to all the fur area in the image. 

Thank you for stopping by today to view my blog. I enjoy sharing my work with you and invite you to 'Follow' my blog and to visit my site - "Not Just Scraps' on Facebook - where you can purchase my cards. 

I will be entering this card in the following challenges: 

The Sisterhood of Crafters ~ November ~ Christmas or Winter  

Everybody Art Challenge ~ #525 

Paperminutes ~ Challenge 772 ~ Winter 

 The Holly and the Ivy ~ November  


Pam's Pearls


Copics 

Snow: B60, Chimney: R56, Santa: R46, N2, N6, Penguins: N2, N6, YR18, RV02, R46, B23

Products 

Your Next Stamp, Santa's Helpers


Memory Box, Matinee Rectangles